Monday, October 25, 2010

Skully

My pumpkin is awesome!

It was actually a lot harder than I thought it would be to do anything other than the basic geometric face.  I tried to just cut out the top using my kitchen knives and ended up making a horrible mess.  So, I hopped in the car and went to the store.  There was a pumpkin carving kit that was pretty cheap and I picked it up. (Here is the actual kit, it has great pumpkin patterns Pumpkin Carving Kits)  It had some pretty useful carving tools like tiny serrated knives and scrapers.  I ended up using one of the patterns that came in the kit, but it made me want to try my own pattern on a new pumpkin. Anyway this was how it turned out.

Pumpkin
Brains
All carved out
Pumpkin pattern


Skully

Thursday, October 21, 2010

Pumpkin Carving

I bought a pumpkin today.  Hopefully we'll carve it tomorrow, but I was browsing around online to find some ideas about what it should look like.  I found this.  Now anything I make will pale in comparison to a Death Star pumpkin!  I'm not really sure what I will carve.  I kind of want to do something more unusual that just the regular geometric face.  We'll have to wait and see what the tools we have are capable of.

Hopefully I can get Kevin to lend some muscle to the project.  It might take some convincing though.

Easy Hat Pattern: Part 3

I've just finished up knitting the brim of my hat and thought I should show you how to do the basket-weave pattern, which will be the major pattern in the hat.  It's basically very similar to a wide rib stitch, except that it switches the knits for purls and vice versa every 4 rows.

You should have 8 rows of 2x2 rib.  We're going to switch to the 5 mm needles as we knit our first row.  I always forget to switch needles and have found it useful to immediately put away the needles I'm not going to be using anymore.  Otherwise, 6 rows in, I'll find out I've been using two 5 mm needles and three 4.5 mm ones!

Here is the pattern:

Row 9: Using the 5 mm needles *K4, p4 repeat from * to end
Rows 10-12: Repeat row 9
Row 13: *P4, k4 repeat from * to end
Rows 14-16: Repeat row 13

Here is the pattern written out in long form:


Using a 5 mm needles, at the beginning of the next (9th) row, Knit 4 stitches.  Bring the yarn to the front and purl 4 stitches.  Continue knitting 4 then purling 4 until the end of the row.  NOTE: each time a 4.5 mm needles is freed of its stitches, put it away and grab a 5 mm needle instead.  Keep knitting in the knit 4 then purl 4 pattern until you have completed 4 rows.  You should have squares of knitting that are 4 stitches across and 4 up.

On the next (13th) row, purl 4 stitches.  Bring the yarn to the back and knit 4 stitches.  Continue knitting in the purl 4 then knit 4 pattern until you have completed 4 rows.  Then you will return to the knit 4, purl 4 pattern and repeat these 8 rows.

Here are the Videos:

The first four rows of basket-weave:


And the second four rows of basket-weave:


Keep going in basket-weave until you have 3 or 4 repeats of the 8 row pattern depending on how big your head is and how big you want your hat.  When I first started knitting, I knit quite a few hats that were comically small.  I kept thinking that the hats would be too big so I would start decreasing and they would end up not even hitting the tops of my ears.  So keep knitting until your hat is at a comfortable ear level and leaves a gap of only a few inches on the top of your head.  

Coming soon.... Decreasing!

Basketweave hat: Part 2

If we have all the supplies ready to go it's time to cast on.

Here is the pattern for the rim of the hat:

CO 96 stitches on 4.5 mm needles. 

Evenly distribute over 4 needles and join.

Row 1: S1, k1, p2, *k2, p2 repeat from * to end of row.
Row 2:  *K2, P2 repeat from * to end of row.
repeat this row 6 more times or until you have about 1".

Here is the pattern written out for a more detailed explanation of what to do:

Use the 4.5 mm needles to start and cast on 96 stitches.  Spread them out over 4 of the needles so that you have 24 stitches on each needle.  Make sure that no stitches are twisted around the needle (all stitches should be pointing the same way).  Hold the first needle and the last needle together so that the 4 needles make a square.  Using the 5th needle, slip the first stitch onto the new needle without knitting it.  Knit the next stitch.  Bring the yarn to the front and then purl two stitches.  Continue knitting 2 stitches and then purling 2 stitches until you finish the row.  The second row starts with 2 knit stitches, so you are knitting the stitch that you slipped at the beginning of the last row.  Pull this stitch very tight after you knit it.  Follow the knit 2, purl 2 pattern until you have completed 8 rows total.  

Here are the videos if they help:

Casting on:


Joining and knitting:


Tuesday, October 19, 2010

Helpful Colour Scheme Designer.

Have you ever started a project but wasn't sure what colours to use?  Colour is so important for any crafty project.  I just found this super cool colour designer.  It is great for helping pick what colours go well together. I will definitly be using it on my next painting, or scarf, or quilt, or... well anything!

Easy Hat Pattern: Part 1

I would love to share this easy hat pattern.  A few years ago I knit it for my sister in law and she wore it until it got a huge hole in it that I couldn't fix.  So this last Christmas my brother asked me to knit her a new one.  I never wrote down the pattern so I'll be writing it as I knit it.

Here is what you need:


Mission falls 1824 wool, or another yarn that is worsted weight (18 stitches per 4"). It should have the same specs as this on the label. You'll need two balls, about 100 grams.  


You will also need a set of 4.5mm double pointed needles and a set of 5mm needles.  I use sets of 5 so that 4 needles have stitches on them and one is the knitter.  

The hat will eventually look like this:  


I am going to be writing the pattern as I knit it so keep coming back to find out what to do next! 

Zombies! and Doctor Who.

So over the weekend Kevin and I went on a road trip to Raleigh.  Unfortunately, we chose to go on the weekend that the state fair was in town.  Which would have been fine if we were planning on going to the fair.  Instead we just got caught up in traffic headed to the fair.  It was brutal, we ended up doing a moderately illegal u turn and trying to get out of there.  We did find most of the things we'd intended to find, including a pretty cool comic and general nerdiness store.


Comics were actually on sale that weekend so it was hard to say no to some awesome new zombie comics.  I even found a zombie comic with a Christmas theme (the one on the right).  I'm so excited to read them.  New zombie stuff is always fun.


I also found some new Doctor Who comics.  Well, some old ones really.  I can't wait to read them.  You can see they actually have K-9!  I want a robot dog.  I also want to knit a crazy Doctor Who scarf.  All it really has to be is colourful and like 12 feet long.  It'll happen one day.

Thursday, October 14, 2010

Feather and Fan

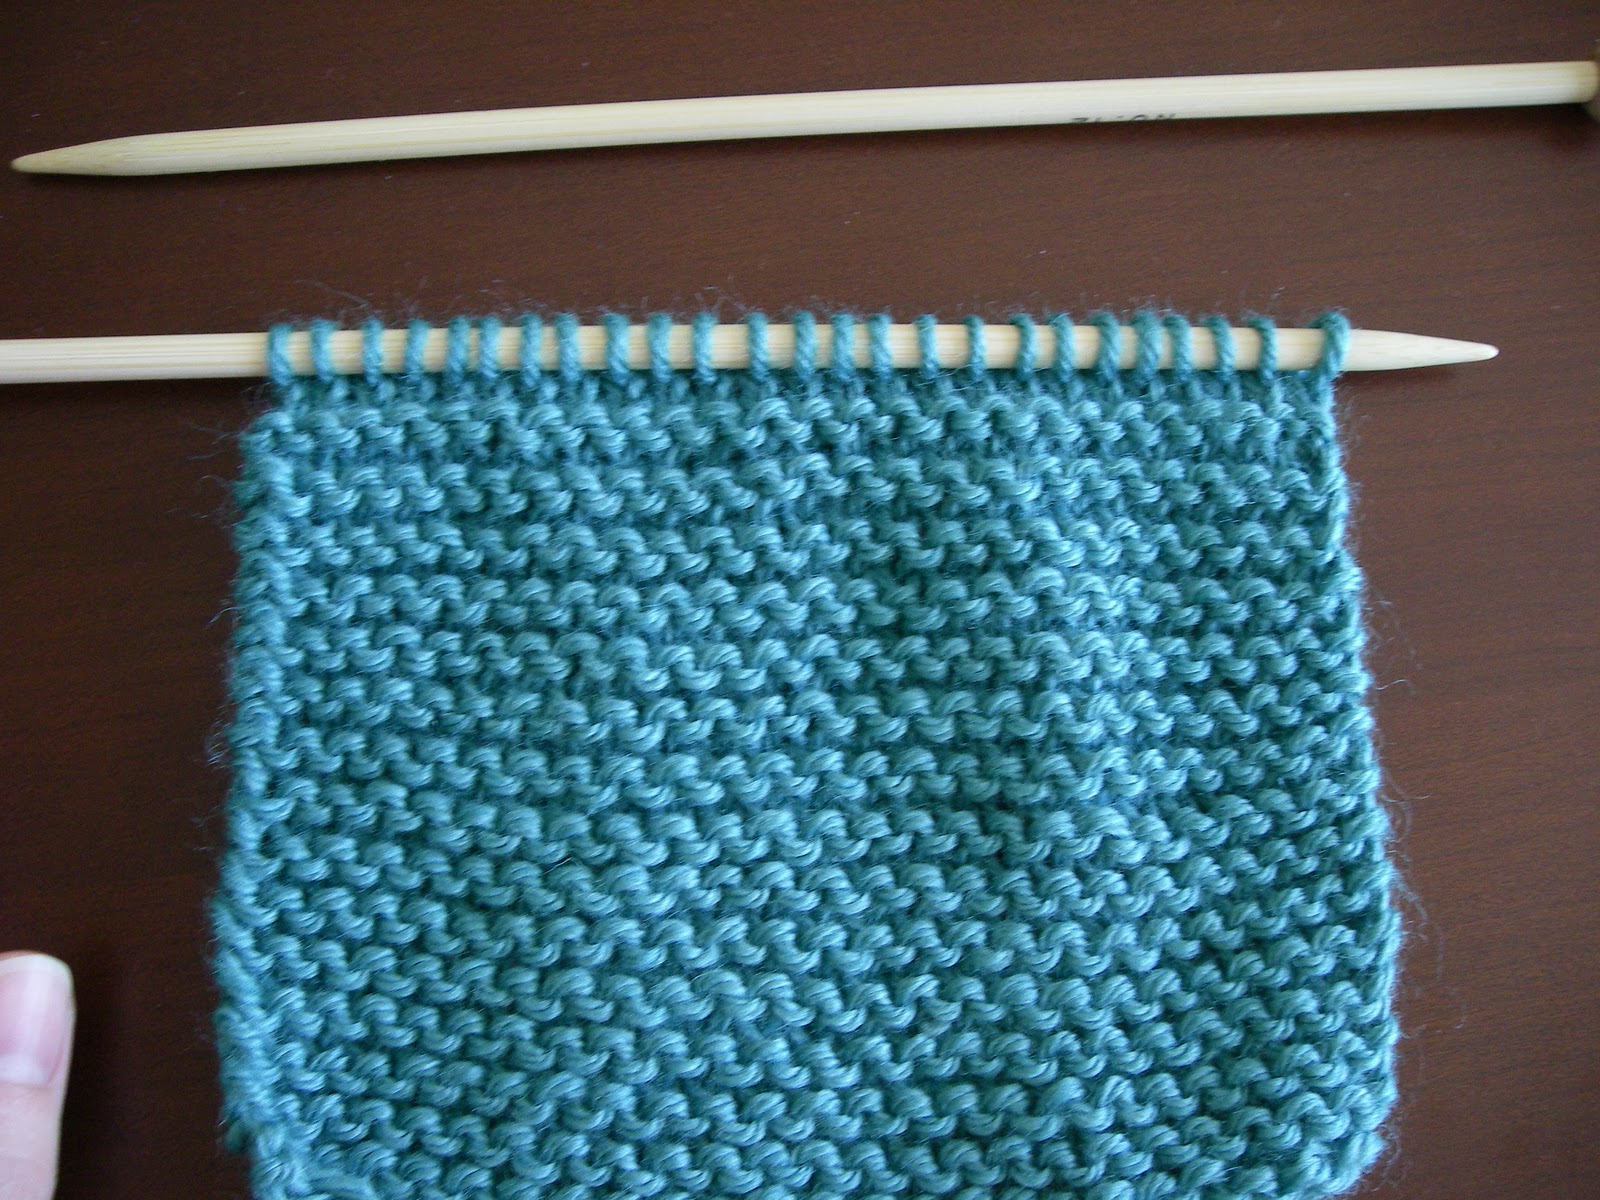
Possibly my favourite simple lace pattern.  I knit a few baby blankets for friends out of this pattern.  It's also a good pattern to show simple increasing and decreasing stitches.  It's best if you repeat the pattern a few times so if you're knitting a scarf, knit it lengthwise.  This is what just one repeat of the pattern looks like after about 20 rows:


This pattern is a repeat of 18 stitches + 2.  This basically means that if you're only doing one repeat then you need to cast on 20 stitches.  If you're going to repeat it more than once you need to have a multiple of 18 stitches then add 2 more stitches.  As an example if you wanted 5 repeats you need 92 stitches (18x5+2=92).

Here is the basic pattern:

1st row (RS):  Knit
2nd row: Purl
3rd row: K1, * (K2tog) 3 times, (yo, k1) 6 times, (K2tog) 3 times, rep from * to last st, k1.
4th row: Knit.

Here is the third row written out in long form.

3rd row:  Knit 1, *(Knit 2 together) 3 times, (yarn over, knit 1) 6 times, (Knit 2 together) three times, repeat from * to last stitch, Knit 1.

Note:  The bracket means you have to repeat the directions in the brackets the number of times indicated to the right of the brackets.  

Still not sure?  Check out the video and the glossary at the end.

Helpful hint:  I put a post it note under the line in the pattern I'm currently working on.  That way it's easy to know where I am in the pattern.  It also means I can put it away for the night and not worry about knowing where I am the next day.

Post it! 

Knit!


So follow the pattern, Knit a row then purl a row and get ready for the action row, or the third row.  Once you're ready for the action row, watch this video:


When you're finished that row, it's time to knit again.  If you're not sure about the next row watch this:


There you go!  That's the basic idea for the Feather and fan pattern.  You just keep repeating those four rows until you have as much feather and as much fan as you want.  It's that easy.  

Glossary:

K : knit
P : purl
k2tog : Knit two together(decrease by 1):  Insert the right hand needle, from left to right, through two stitches instead of one. Then knit them together as one stitch.
YO: Yarn over(increase by 1): Bring the yarn forward as if to purl, but then knit the next stitch, bringing the yarn over the needle to do so.

I think that's it!  Remember, take a break from knitting and go outside to enjoy the wonderful fall weather.  

Wednesday, October 13, 2010

Monkey update

I'm still working on the monkey, I swear.  It's hard though because I have to sneak knit.  I can't just pull out the monkey when Kevin goes to work because sometimes he forgets stuff or otherwise has to come home shortly after he leaves.  Then, since he doens't have a specific time that he normally finishes work, I have to put it away way before I think he might be coming home.  As a result, monkey is only this big:


It is getting bigger though and should go pretty quick now.  The only things left are the arms, tail and mouth.  Oh yeah, and ears.  Ok, so, maybe it's not as finished yet as I thought but at least I have the main 'sock' part done.  I still have to buy a yarn needle to tie off and weave in the ends.  There's still time.  I haven't even started the christmas count down yet.

Friday, October 8, 2010

Purling, Stockinette and Rib stitch.

Since by now you should have a decent grasp of the knit stitch, it's time to add the purl stitch to your repertoire.  Once you learn the purl stitch you automatically gain the ability to do many other stitches. Stockinette, basketweave and moss stitch are just some examples of patterns you can do with just knit and purl stitches.

Purling is quite easy.  It's pretty much just like knitting, but exactly the opposite.  Knitting is in the back of the stitch, purling is in the front.  If you purl every row, you'll end up with garter stitch just like if you knit every row.


When you're done the whole row of purl it will look like this.  


If you just keep going with a the purl stitch on the following rows, you'll be knitting the garter stitch. If you want to try something new ...

Stockinette Stitch
Stockinette is a great stitch for when you want a block of flat knitting, like a sweater or hat.  For things like scarves it isn't so great because the edges tend to curl.  You can put a border on the knitting to help ease the curl if it's what you want.  I think it looks good with a border of garter or moss stitches.

The pattern is really easy to follow:

Row 1 (right side):  Knit
Row 2 (wrong side): Purl

Repeat those two rows for as long as you like. It will look like this:


Ribbed Stitch


This is a pretty common stitch as well.  It's used often for the cuffs of mittens or the first couple inches for socks.  It does eat up more yarn than stockinette or garter stitch, so plan for that if you want to use this stitch. I think it tends to shrink the width of the knitting in half.  For instance if the number of stitches you have gets 4" in stockinette stitch, it might only be 2 or 2.5" in ribbed stitch.  It's always best to knit a swatch, or 4" by 4" square, first to make sure you have the right number or stitches and the right size needles.

This is the first row:


The second row:


Here is the pattern if that's easier to follow.

Ribbed stitch with an even number of stitches:

Row 1 (RS): k1, p1, repeat to end
Row 2 (WS): repeat row 1

Ribbed stitch odd number of stitches:

RS :  k1, p1 repeat to end
WS : p1, k1 repeat to end

It will look like this:


You can see just how much narrower it makes the knitting even though it's the same number of stitches.  There are a couple of things that can affect the rib stitch.  If you use a needle that is larger than what is required for the tension, your ribbing will be less elastic.  Also, the higher number of stitches in the rib the less elastic it will be. For example a K4, P4 rib will be less elastic than a K1, P1 rib.

Whew! That's a lot of knitting.

Take a break. Go outside.  Get some fresh air.  Your knitting will be waiting for you when you get back!

Wednesday, October 6, 2010

Knitting lesson 1: Casting on and the first stitch.

For anyone interested in knitting I've decided to post some beginners instructions.   I've been addicted to knitting for a while now and I don't mind sharing my addiction with others.

Step 1: Picking your supplies.

Yarn is wonderful, amazing and scrumptious.  Be careful what you choose for your first project.  Pick a yarn that is a fairly simple strand.  Do not be sidetracked by the fuzzy, stringy, boucle, beaded or otherwise crazy yarns. They will be perfect for projects down the road.  For now pick a reliable cotton, wool, or acrylic blend. Basically pick something like 1824 wool by mission falls, or lily sugar'n'cream cotton.  Pick something nice and thick too so that whatever you make will knit up quickly.

Next is picking the right needles.  The size of needles will be determined by your yarn.  Every yarn should tell you on the label what size of needles to use.


If you look at the middle box on the label you'll see the size of needles they suggest for my yarn, 5mm or size 8 US.   Any yarn you pick up will have this box or something similar that tells you what you need.  If you aren't sure just ask in any yarn shop.  There are many materials for needles and I recommend anything other than plastic needles, they tend to stick and are no fun.  I prefer bamboo for most things but my metal needles are my favourites.

Step 2: Casting on.

First, pull out some yarn.  You'll want to have about triple the width of the project you're casting on.  For example; if you are knitting a scarf that is 5 inches wide, pull out about 15 inches of yarn. This should end up being more than you need but better safe than ripping it out and starting over.

Time for a slip knot.  There are may good sites where you can find how to make a slip knot but I've posted some instructions

Loop some yarn like this.
Pull a mini loop into the big loop.


<- note which thread is on top

That thread is the mini loop ->
Slide the mini loop on a needle.

Pull the mini loop some more.


Now we can get to the actual casting on part.  For this, I made a video.  It was a bit too much info to use photos.  Hopefully they're helpful.


Once you've finished casting on, you can start knitting!


Finished the first row?  It's easy just watch this.


Tuesday, October 5, 2010

LEGS!

The monkey has legs!

Well, I didn't get the monkey finished by the time Kevin got home.  At least I got a good start.  I can work on it for little bits at a time while Kevin is at work.  He got back on friday and it's been hiding since then.  Today, I got it out and joined the legs to start making the body.  It's going a bit slower than the legs, maybe because there are double the stitches.


See... Monkey legs!!!  Although it seems like I might have made the right foot slightly longer than the left.  Oh well, it adds character.  I like how the colours are turning out.  At first I thought the grey would be to dark, but I couldn't find a nice lighter grey or brown.  It'll look great with the red hat and scarf I'm hoping to make for it.

Hmmm... I think monkey needs a name.  It's weird to keep calling it 'It'. Maybe, I should name it before I give it to Kevin.  If it's up to him it might end up being named Monkey or even Monkey Butt.

I also made a delicious banana bread the day before Kevin came home.


Yum!  Additions in banana bread are what makes it amazing.  This time I added chopped walnuts and coconut.  Coconut is fantastic in banana bread.

When Kevin did get home he really wanted cake.  It is his favourite dessert.  Not just one specific kind of cake like chocolate or vanilla or something but any kind of cake at all.  I decided to make Boston cream pie.  Not really a cake, but it does have a cake layer.  I remembered that we brought back some really nice dishes from Japan and decided to put it on that instead of a regular plate.  Yum!!! Cake!